Smart Contract Developer Bootcamp Setup Instructions: Hardhat Track
Software Installation
Please complete the following steps to install the required software for the Developer Bootcamp. You can skip any steps for software you already have installed if there is no stated minimum version, otherwise please ensure your version is equal to or greater than the stated minimum version of the software. If your version is less than the stated minimum version, please upgrade to the latest version as per the instructions below.
MetaMask
Download and install MetaMask, a browser extension that you’ll use as a wallet for interacting with your smart contracts and the Ethereum network. MetaMask requires either Google Chrome or Brave browser, and also has limited support for Firefox and Opera. We recommend Chrome or Brave.
Open your MetaMask browser extension (look for the fox symbol in your extensions on the top right of the browser), and setup your account.
Once your account is setup, change the Ethereum network that MetaMask is connected to, to the Kovan Testnet by selecting the dropdown at the top, and changing it to ‘Kovan Test Network’.

NODE.js
Minimum Required Version : 12.0.0
Minimum Windows O/S Version: 10
Minimum macOS version: 10
You can skip this step if you already have a working Node.js 12.0 or greater installation. To check this, you can open a new Terminal/Windows Command Prompt (or another CLI of your choice), type the command below and press enter. For Windows users, Command Prompt can be found by pressing the Windows Start Button and searching for ‘Command Prompt’. For Mac users, the terminal can be found in Applications.
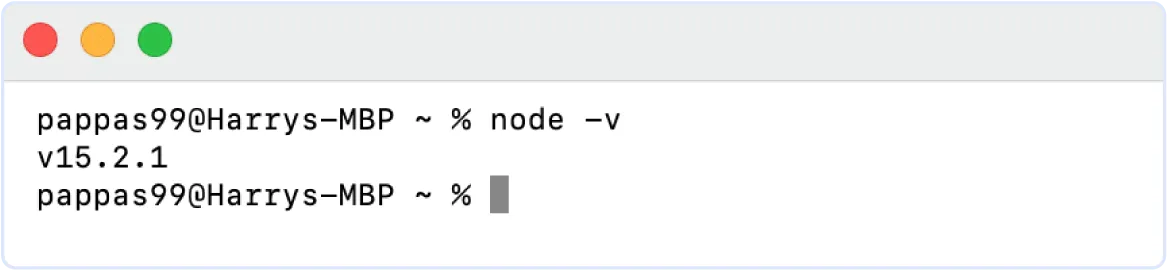
node -v
If you get a reported version (as per the screenshot further down), you already have Node.js installed, and can skip this section if it meets the minimum requirements. Otherwise if you get an error, it means you don’t have Node.js installed, and you should continue these steps to download and install it. If you do have a version of Node.js installed, but it’s less than 12, follow these instructions to upgrade it.
If you don’t have Node.js installed, download and install the latest version of the JavaScript runtime environment Node.js and package manager NPM. This step is required for both JavaScript and Python tracks of the bootcamp. Accept all default answers for questions.
Once you’ve completed the installation, open a new Terminal/Windows Command Prompt (or another CLI of your choice), type the command below to ensure your installation is successful. For windows users, Command Prompt can be found by pressing the Windows Start Button and searching for ‘Command Prompt’. For Mac users, the terminal can be found in Applications.
node -v
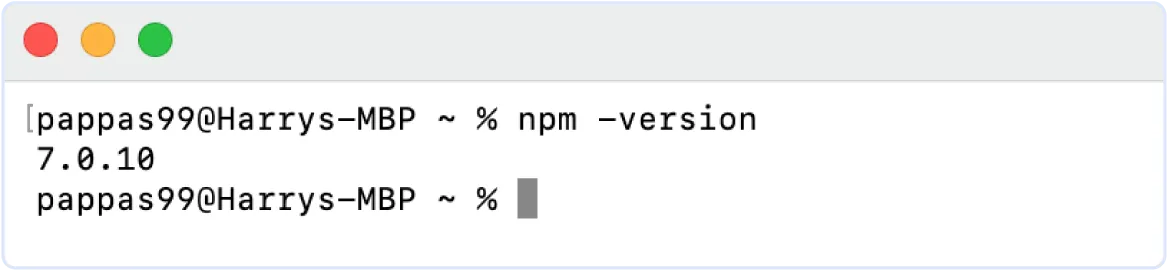
Once you’ve verified your Node.js installation, also verify your NPM installation by entering the following command:
npm -version
Git
Download and install the distributed revision control system Git. We will need this when installing some packages, and also to check your code into a repository when you’re finished. Accept all default values during installation. If you’re using macOS and you get prompted to install ‘command line developer tools’, accept and install them.
To test git once it’s installed, open a new Terminal/Windows Command Prompt (or another CLI of your choice), and type the command below:
git --version
Visual Studio Code
You’ll need a decent text/file editor for days 2 and 3 of the bootcamp. We recommend Visual Studio Code, one of the most popular free, open source editors for smart contract development. Using Visual Studio Code will make it easier when you're following along with the exercise screenshots, and the integrated terminal makes it easier to switch between editing files, and running commands. If you have your own editor that you’re comfortable with, you can skip this step.
Goto https://code.visualstudio.com/, download and install the latest version of Visual Studio Code for your operating system
Open up Visual Studio Code. In the top menu, choose Code (File if you’re using Windows) > Preferences > Extensions
Search for the word ‘solidity’, then select and install the Solidity extension. This will give you syntax highlighting when developing your smart contracts

Enable the terminal by selecting View -> Terminal from the top menu (or the keyboard shortcut Ctrl + `). Ensure you can run Node.js commands in your terminal window by running the following command:
node -v

If you’re using Windows and you get an error, ensure you’re using your CMD Terminal:
In VS Code, press CTRL + SHIFT + P
Search for ‘Terminal Select Default Profile’
Select the ‘Command Prompt’ selection
Restart VS Code and try running the command again in the terminal
Funding Your MetaMask Account
Note: For participants who already have and use MetaMask, we strongly suggest not using any accounts that have any funds on Mainnet. In the event of you accidentally checking in code that contains your private key to a public repository, someone can use that to steal your mainnet funds. For the bootcamp, use a clean freshly generated address that has never been used before on Mainnet.
If you already had MetaMask installed, and provided us with a clean ETH address on the Developer Bootcamp sign-up form, then you should check your account to see if you’ve already received some testnet ETH and LINK (your ETH balance will be > 0). If you have, you can skip this step. If you received some ETH, but you don’t have LINK listed in your assets in MetaMask, follow steps 3 and 4 below to add the LINK asset to your MetaMask wallet, and you should then be able to see if you’ve also received any LINK or not.
Open MetaMask, move the cursor over your account name, and click on it to copy the wallet address to the clipboard

Head to https://linkfaucet.protofire.io/kovan, paste in your wallet address and press the ‘Send me 0.1 Test ETH button. The faucet will send you some Kovan Testnet ETH, which should show up in your MetaMask wallet a few seconds after in the Assets section.

Note: If the Faucet website is down, please paste your ETH address in the #developer-bootcamp channel in the Chainlink Discord, and we will send you some ETH.
Look to see if you have the LINK token added to the ‘Assets’ section of your MetaMask wallet.

If you don’t have the LINK token listed in your Assets (with 0 or more LINK), press the ‘Add Token’ button at the bottom, then enter in the LINK token contract address for the Kovan network 0xa36085F69e2889c224210F603D836748e7dC0088, then press Next, then Add Token.
Back in the faucet website, complete the reCAPTCHA again, then press the ‘Send me 10 Test LINK’ button. You should see 10 LINK show up in your MetaMask account a few seconds later in the Assets section.
Sign-up for Infura and Alchemy Keys
For days 2 and 3 of the bootcamp, we’ll be using the Chainlink Starter Kits. Both kits require access keys from Infura, and the JavaScript based Hardhat kit requires an access key from Alchemy for mainnet forking. You can get free trial keys at both sites.
Infura
Infura provides a gateway to access the Ethereum network without having to run your own Ethereum node. Complete the following steps to get your free Infura key.
Head to https://infura.io/product/ethereum, press Sign Up, and fill in your details. Once you’ve verified your email address, you should be able to login to the site.
Once logged in, select the Ethereum button on the left side menu, and select ‘Create a Project’, call it ‘Developer Bootcamp’ and press Create.

Once you’re in your project, in the project's settings, change the ‘ENDPOINTS’ dropdown to ‘Kovan’, copy and take note of your HTTPS endpoint (save it somewhere). You will need it on Days 2 and 3 of the bootcamp.

Alchemy
In the Hardhat track of the bootcamp, we’ll be using Alchemy to ‘fork the mainnet’ (don’t worry for now if you don’t understand what this means). If you’re signed up to the JavaScript track, please complete the following steps to get your free Alchemy key. You don’t need to complete this step if you’re signed up for the Python track.
Head to https://www.alchemy.com/, and select the ‘Get Started For Free’ button, and fill in the required details (or sign-up with a Google account). You will be required to verify your email account.
Once logged in, create a new app, enter in the following details. Select the free-tier plan, and accept all default values.

Once logged in, press the ‘View Key’ button, then copy and take note of your HTTP endpoint (save it somewhere). You will need it on Day 3 of the bootcamp

Congratulations, you’re now all set for the Smart Contract Developer Bootcamp!